> ## Documentation Index
> Fetch the complete documentation index at: https://documentation.uponai.com/llms.txt
> Use this file to discover all available pages before exploring further.
# Step 2: Configure the Basic Settings
> Configure your AI agent with language models, voice settings, and advanced customization.
Follow these steps to configure the fundamental settings for your agent, optimizing it for your specific business requirements.
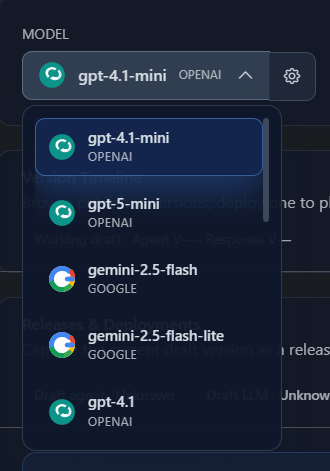
We recommend starting with **GPT-4.1**, which offers an optimal balance of:
* Response quality
* Latency
* Cost-effectiveness
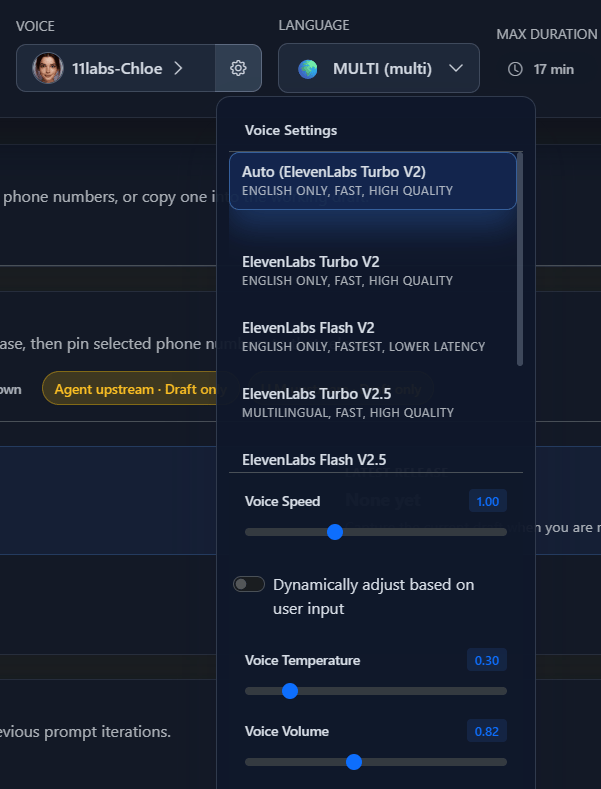
 Choose from available voices, each with a unique voice ID. Preview voices before selecting to find the right fit for your use case.
Use the **Voice Speed slider** (0.5x – 2.0x) to control how fast your agent speaks. You can set a fixed speed or enable dynamic adaptation so the agent adjusts based on how fast the caller speaks.
Choose from available voices, each with a unique voice ID. Preview voices before selecting to find the right fit for your use case.
Use the **Voice Speed slider** (0.5x – 2.0x) to control how fast your agent speaks. You can set a fixed speed or enable dynamic adaptation so the agent adjusts based on how fast the caller speaks.
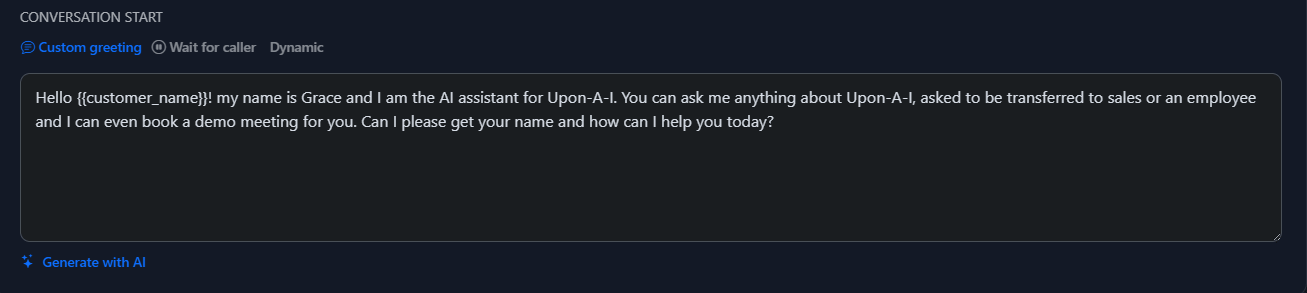
 Choose how your agent starts each call:
| Mode | Behavior |
| ------------------ | --------------------------------------------------- |
| Wait for user | Agent stays silent until the caller speaks first |
| Agent speaks first | Agent opens with a preset message or guided opening |
Choose how your agent starts each call:
| Mode | Behavior |
| ------------------ | --------------------------------------------------- |
| Wait for user | Agent stays silent until the caller speaks first |
| Agent speaks first | Agent opens with a preset message or guided opening |
 ***
## More Settings
After the core setup, configure these additional areas to fine-tune your agent.
Define your agent's persona, identity, and behavioral guardrails that apply across all states.
Supply contextual documents, URLs, and text your agent can reference during calls.
Fine-tune responsiveness, interruption sensitivity, backchanneling, pronunciation, and keyword recognition.
Configure voicemail detection, silence-based call termination, maximum call duration, and initial pause timing.
Set up call review features to analyze performance after each conversation.
Manage data storage preferences and configure webhook event notifications.
***
## Next Steps
Once basic settings are configured, move on to adding function calling to give your agent the ability to take actions during calls.
***
## More Settings
After the core setup, configure these additional areas to fine-tune your agent.
Define your agent's persona, identity, and behavioral guardrails that apply across all states.
Supply contextual documents, URLs, and text your agent can reference during calls.
Fine-tune responsiveness, interruption sensitivity, backchanneling, pronunciation, and keyword recognition.
Configure voicemail detection, silence-based call termination, maximum call duration, and initial pause timing.
Set up call review features to analyze performance after each conversation.
Manage data storage preferences and configure webhook event notifications.
***
## Next Steps
Once basic settings are configured, move on to adding function calling to give your agent the ability to take actions during calls.