
- Creating your first agent from a template
- Testing it in the web interface
- Deploying it to a real phone number
- Making your first AI-powered phone call
Create your account
Visit app.uponai.com and sign up for a new account.
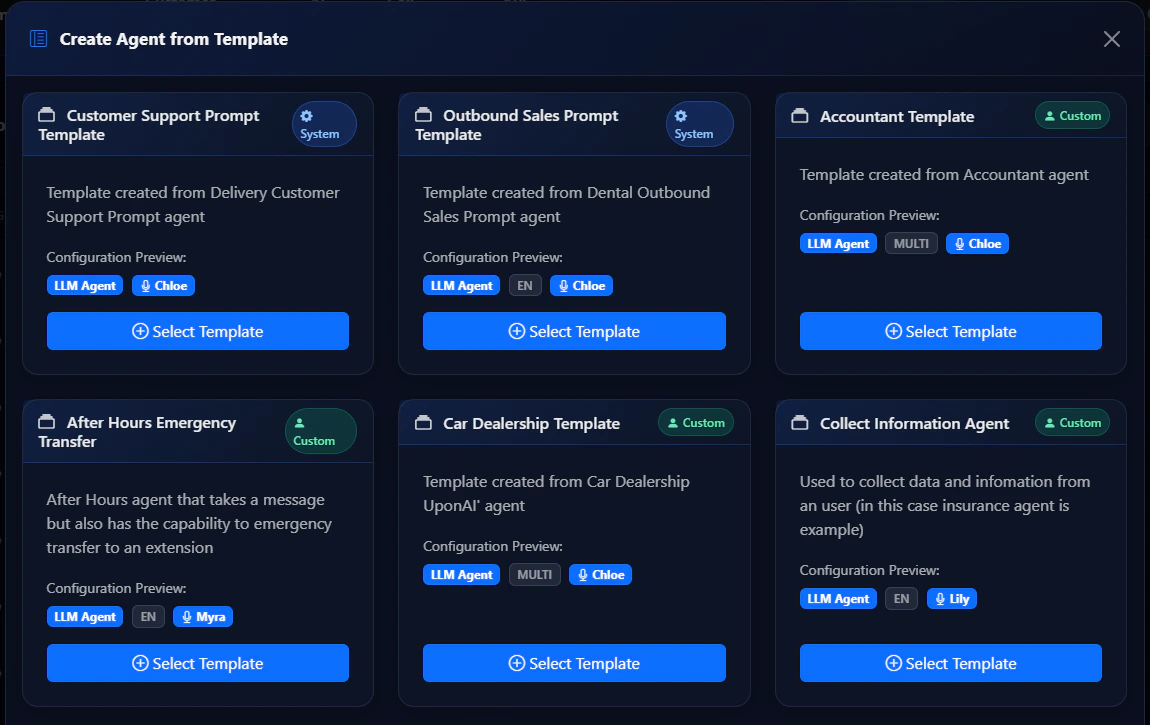
Create a new agent
- Navigate to the Agents tab
- Click Create from Template
- Browse and select a template
- Give your agent a name
- Click Create Agent
Test your agent
Click the Test button to interact with your agent in the web interface before going live.
Add your payment method
Before buying a phone number, add a payment method to your account.Go to the Billing tab and click Change payment methods.
Deploy to a phone number
- Go to the Phone Numbers tab
- Click Buy New Number
- Optionally enter an area code
- Purchase your number
- Assign your agent to the number in the configuration settings
Next Steps
Customize your agent
Learn prompt engineering to improve your agent’s responses.
Add functions
Integrate APIs and external services into your agent.
Use the SDK
Integrate UponAI into your application with Node.js or Python.
Set up the MCP server
Manage agents directly from AI coding tools like Cursor or Claude.